
Getting Started with WriteNow AI
Getting started with WriteNow AI is incredibly easy!To get started with the easy-to-use WriteNow AI, simply follow these steps:
1. Sign up for an account
- Open https://writenowai.com in your favourite browser.
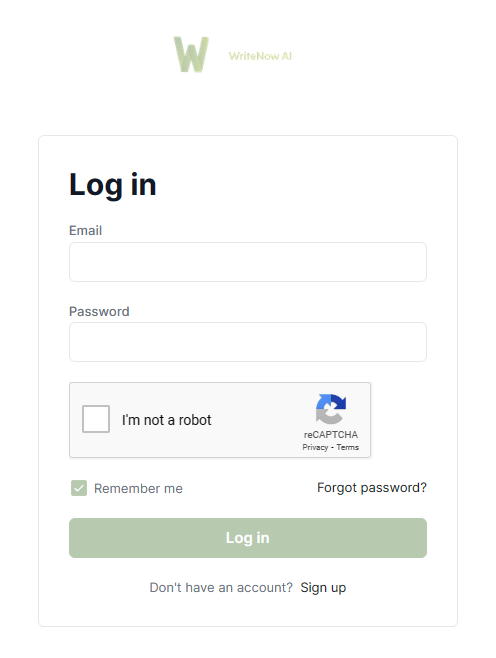
- Click ‘Log In’ in the top right hand corner

3. If you haven’t signed up for an account already, click ‘Sign up’
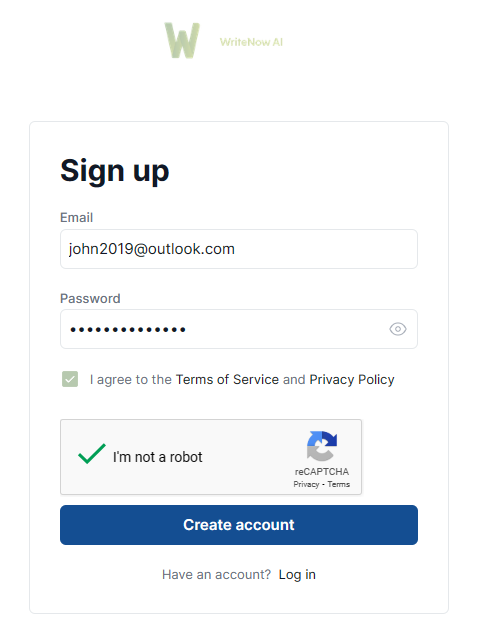
4. Enter your email address, create a new password, click that you accept our Terms of Service and Privacy Policy and complete the ‘I’m not a robot’ field.
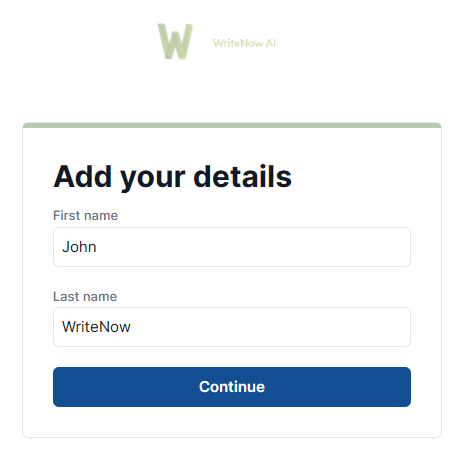
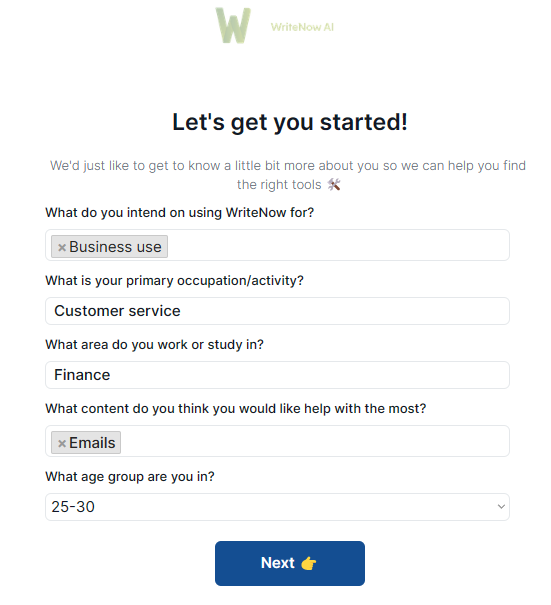
6. WriteNow AI will ask for some of your details to help us provide you with the best service
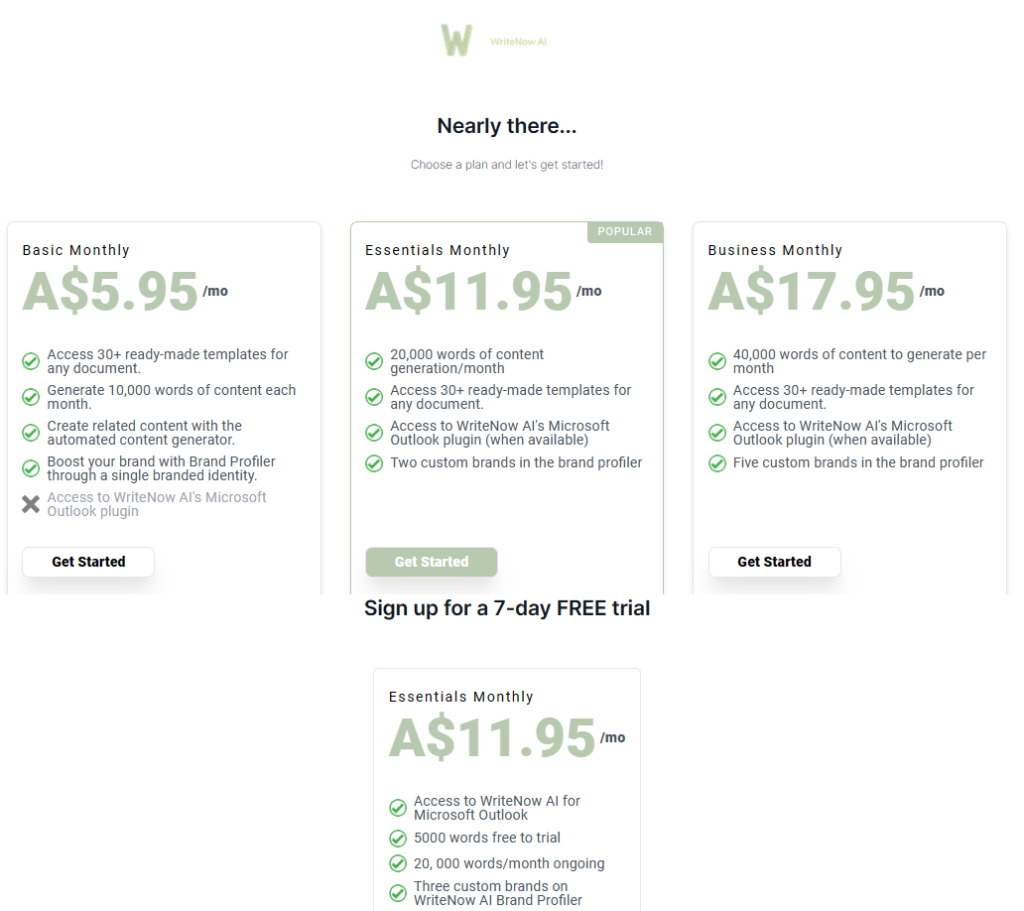
2. Choosing a subscription
There are several subscription options available for WriteNow AI, so it’s important to choose the one that best fits your needs. You can review our subscription options here. WriteNow AI offers a free trial, which you can use to test out its features and functionality before committing to a paid subscription.
You’ll be redirected to our Stripe partner portal, enter your billing information and click ‘Subscribe’
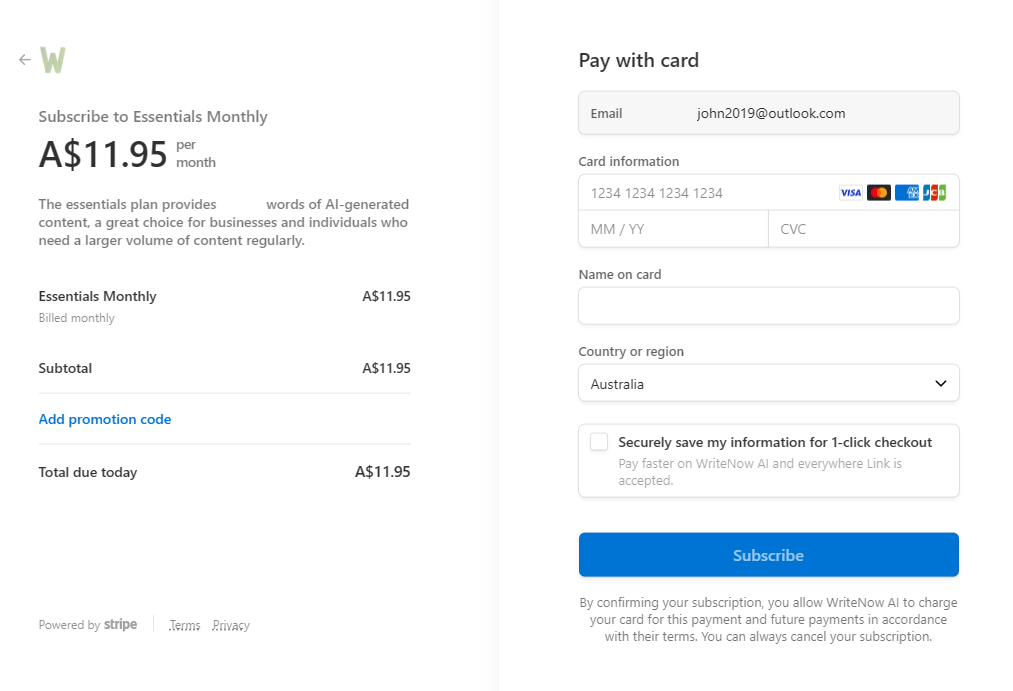
Note: If you are signing up for the 7-day free trial you will NOT be charged anything until after your trial period. You can cancel your trial at anytime without cost.
3. Create your first document
Once you’ve signed up for an account and chosen a subscription, you can start creating your first document. Whether you’re looking to generate content for a blog post, an email campaign, or a social media post, you can do it quickly and easily with WriteNow AI.
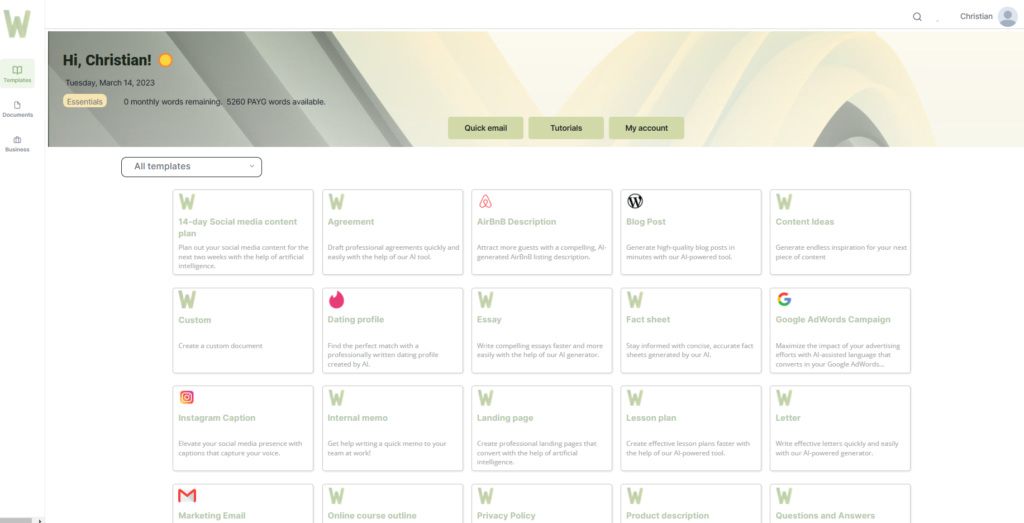
To get started, simply select the type of document you want to create and then follow the prompts to create high-quality, engaging content with just a few clicks.